Your Invisa Hatch™ Access Panel Installation Guide
Posted by Best Access Doors on 17th Aug 2022
Invisa Hatch™ is our latest solution for upscale interiors where architects, designers, and building owners require concealment of the access door. Designed so that hardware sits behind the drywall inlay, once installed, Invisa Hatch™ blends seamlessly into the drywall. This door is completely removable and provides unobstructed access to non-rated walls.
Invisa Hatch™ is recessed to receive drywall in your choice of two thicknesses to match the drywall surface on which the door mounts. Once installed, paint the surface to match!
Invisa Hatch™ is made from high-grade, corrosion-resistant aluminum and welded to join the inner and outer frames. It is an excellent investment because it won't rust or fade over time.
For sizes over 12" x 12", Invisa Hatch™ has a safety mechanism and a detachable non-snag cable to prevent accidental opening. If you take the hatch off, remember to reattach the safety system.
Once installed and finished, Invisa Hatch™ is practically invisible as the concealed frame, latch, and hinges only reveal 1/16″ (1.59mm) between the frame and the access door.
BA-IVH Invisa Hatch™ is one of the best access door products you'll find. It's reliable in terms of functionality and offers an aesthetically pleasing finish.
Follow our handy guide to installing Invisa Hatch™ in your commercial building!
Tools You Will Need to Install Invisa Hatch™

- Power Drill
- Measuring Tape
- Set Square
- Level
- Utility Knife/Drywall Saw
- Sandpaper
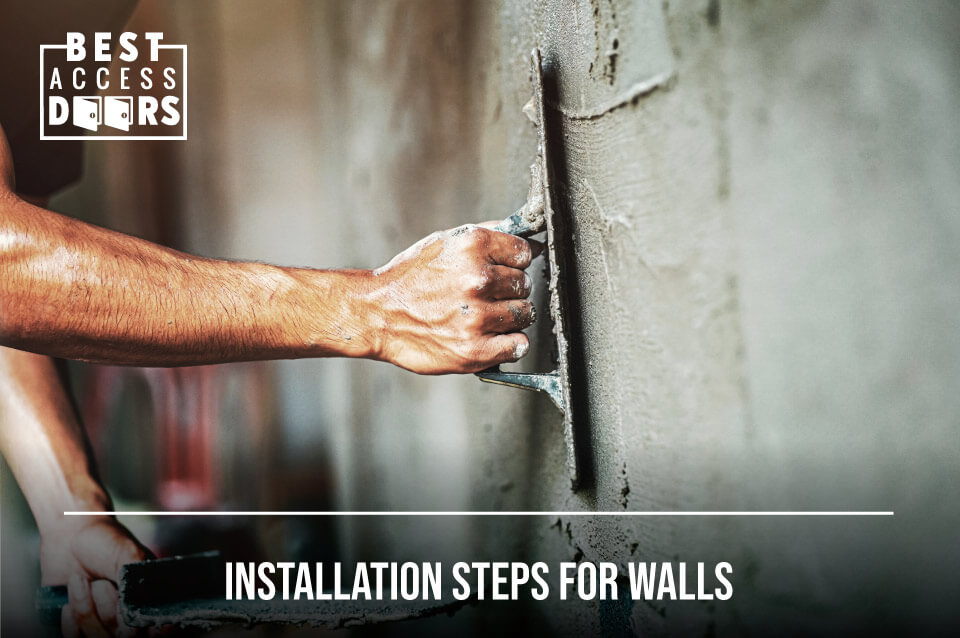
Installation Steps for Walls

- Mark your location on the wall. Continue to draw your opening 3/8 inches larger than the size of the door while keeping a minimum clearance of 1 1/2 inches from each surrounding stud.
- Use a set square to ensure that all lines are precisely straight, then use a utility knife to create the initial cuts at the corner of the marked location. Continue cutting the outline using the drywall saw, then remove excess material.
- Sand the opening area to remove tiny excess material and smoothen the edges. Position your access panel with the touch latches at the top portion. Pass the frame through the opening, then pull firmly back.
- Drive self-tapping screws through the drywall through the frame every four inches. Check if the panel fits perfectly to the frame by attaching it starting from the bottom base, then secure the safety cable to hold the door in place.
- Prepare drywall compound, then temporarily remove the panel from the frame so you can properly apply the mixture evenly around the perimeter. Once the compound dries, sand the edges and reattach the door and safety cable to secure it. Paint to match your aesthetics.
Installation Steps for Ceilings

- Draw the entrance into your ceiling using the precise measurements of the frame, ensuring that it is 3/8 inches bigger than the door size. Maintain a minimum clearance of 1 1/2 inches from each adjacent stud after the layout is complete.
- Cut out the edges and the opening with your drywall saw or utility knife. Sand the edges after carefully removing the drywall piece from the ceiling.
- Set the frame's placement based on the direction you want the opening to face. To ensure the flush installation of the ceiling access door, carefully insert it into the ceiling. Ensure the frame fits tightly over the space during this stage. Screw the revolutionary self-tapping screws on the panel at four-inch intervals using your manual or power drill.
- Place the door at the foundation of the frame to check the fit. After attaching the safety cable to the door, examine the hidden snap latches for functionality. The door's pressure-sensitive spring-loaded latches allow the hatch to detach with ease.
- Prep the drywall compound, then uniformly distribute it over the screws and the frame's edge. Before fastening the door with the safety cables, allow the mixture to cure and sand it until it is smooth. To finish the installation, paint the door to match your ceiling.
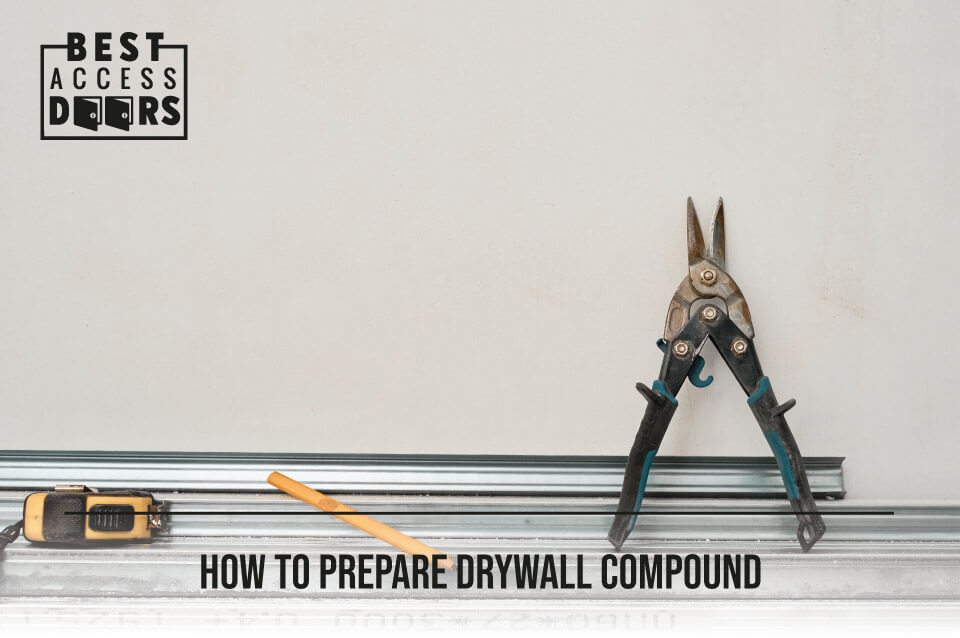
How to Prepare Drywall Compound

What You Need:
- A bucket of joint (drywall) compound
- A separate clean bucket (preferably 5 gallons)
- Clean water
- Power drill
- Cast head mixer
- Measuring cup
Mixing Steps:
- Before you begin, read the directions, especially the water to compound ratio. Too much water will dilute the adhesive or cause shrinkage.
- Scoop out approximately 1 or 2 gallons of drywall compound to the separate clean bucket.
- Mix the compound that fits with a half-inch power drill. Mixing by hand is inefficient and will take more time. Tighten the drill chuck to ensure it stays secure while spinning. Pour tiny amounts of water at a time.
- Slowly lower the mixer into the mixing bucket to keep it in control. Turn on the drill slowly while ensuring that you hold the bucket tightly in between your feet.
- Mix until the consistency of the compound resembles whipped cream.
- Scoop out the mixed compound, and then you are ready to apply it.
For quick tips on installing drywall, check out this article.
Ready to Order?

BA-IVH Invisa Hatch™ is a unique access door with innovative features making it robust, functional, and adaptable for use in your commercial building.
Call us at (800) 483-0823 to place your order or for more information. Our product experts can guide you through the process and offer more tips on installation!
Share our story - the 2025 version is available

